
Skip to content
Implant Drills

Implant Drills

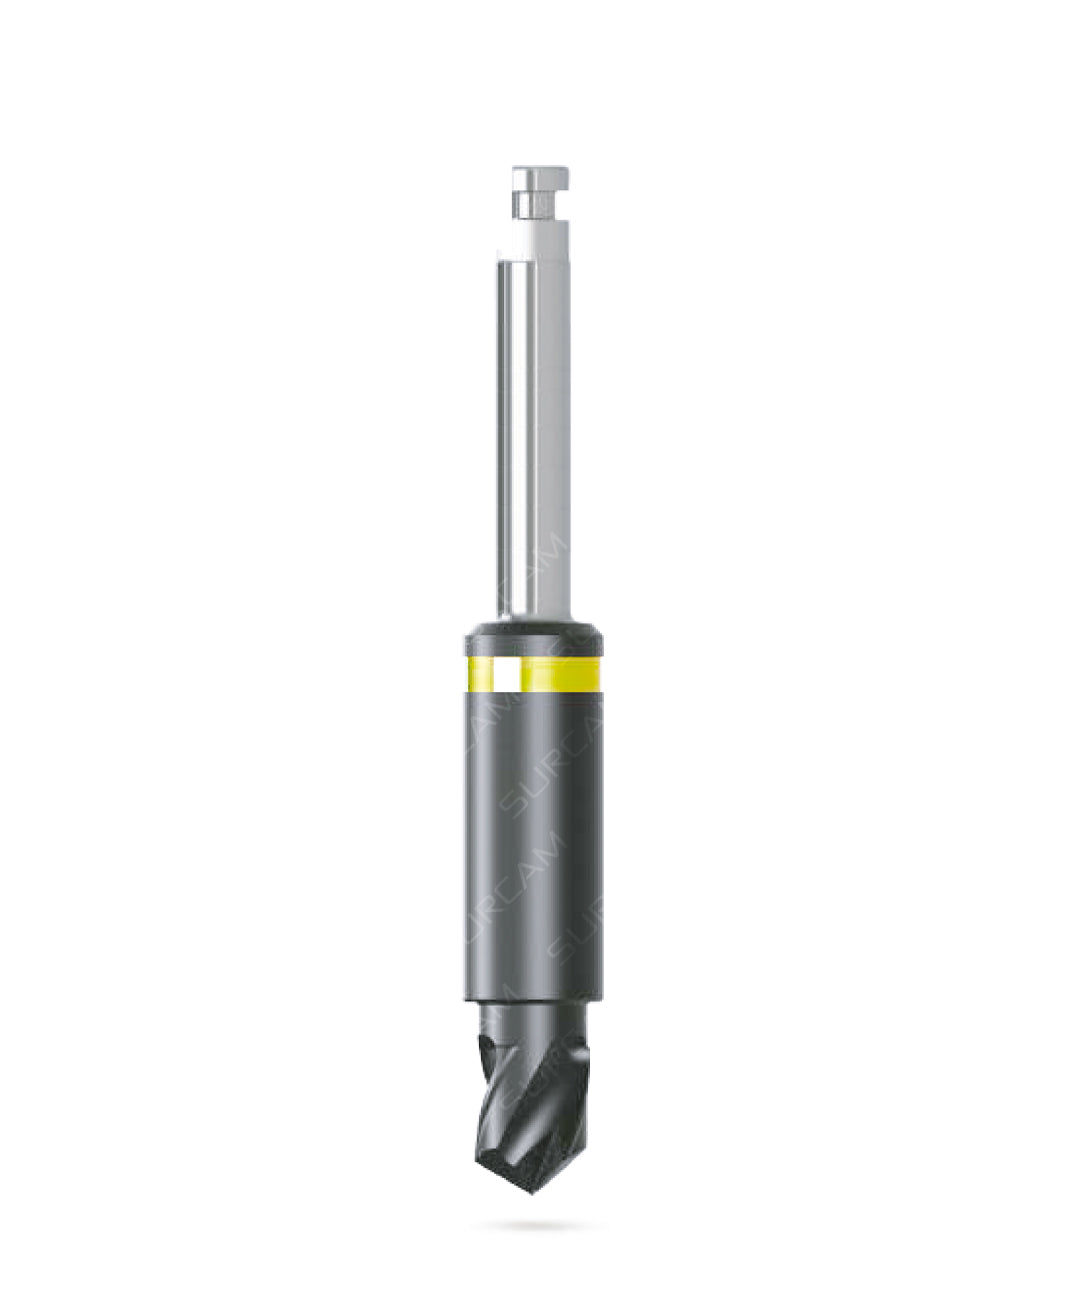
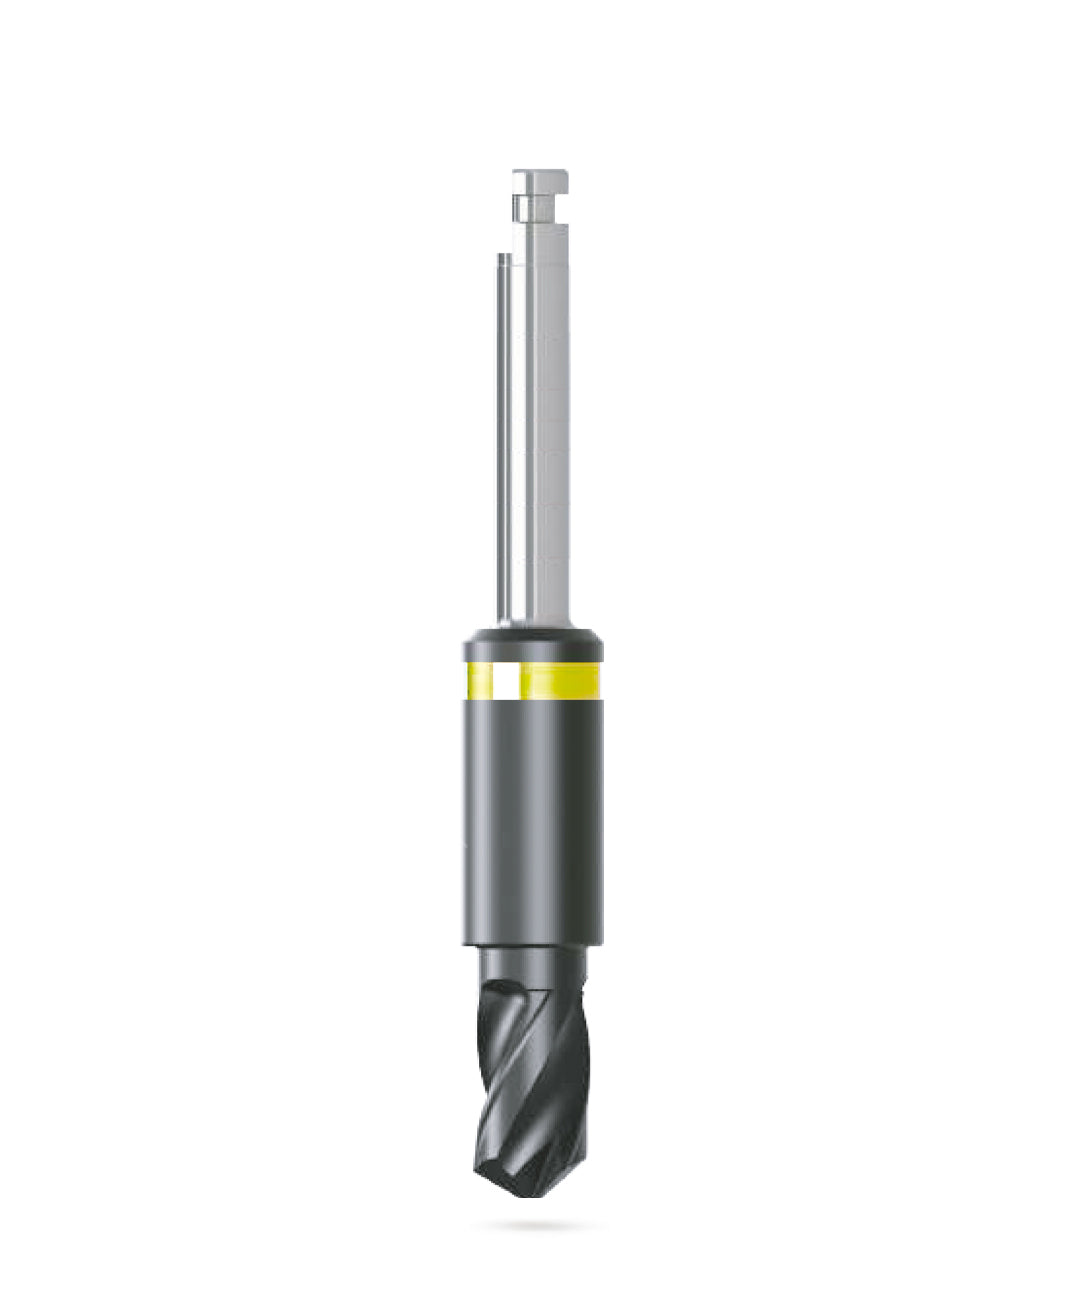
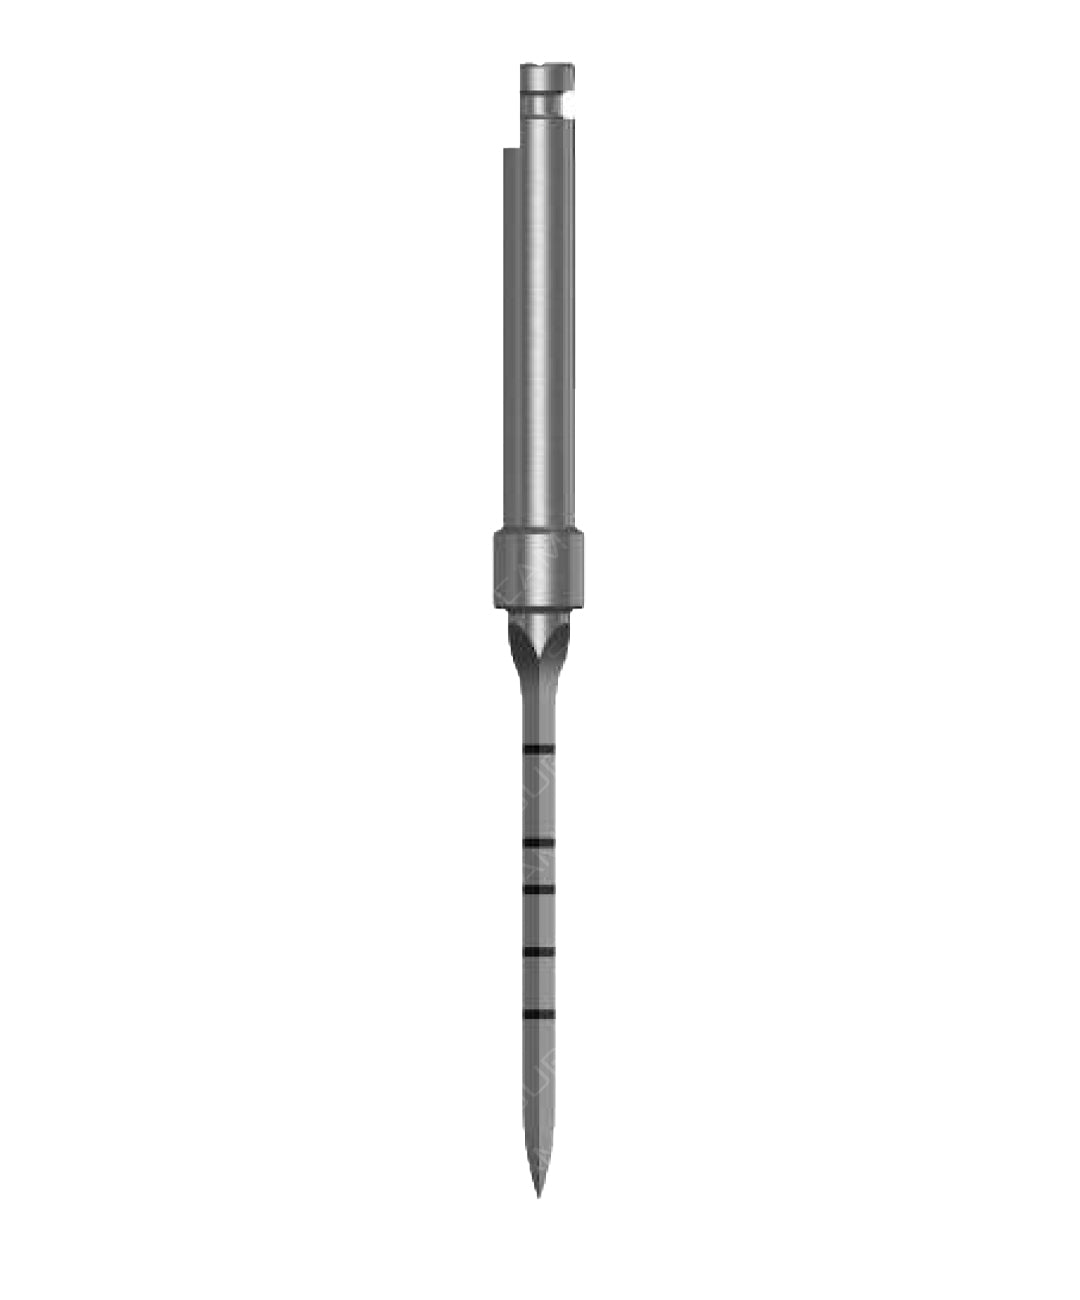
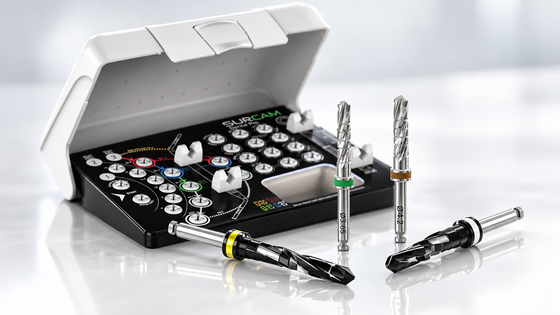
Marking lance, pilot drills with stoppers, twist drills and countersinks for every step of the osteotomy.
Implant Drills

Global Shipping

Fast & reliable delivery

Clinician Support

Experts by your side

Secure Payments

100% safe & encrypted

FDA 510(k) Cleared

K242217 · Surcam Implant System

Need bulk pricing?

Exclusive pricing for clinics and distributors.

Contact Sales

Buy Implant Drills Online

10 items

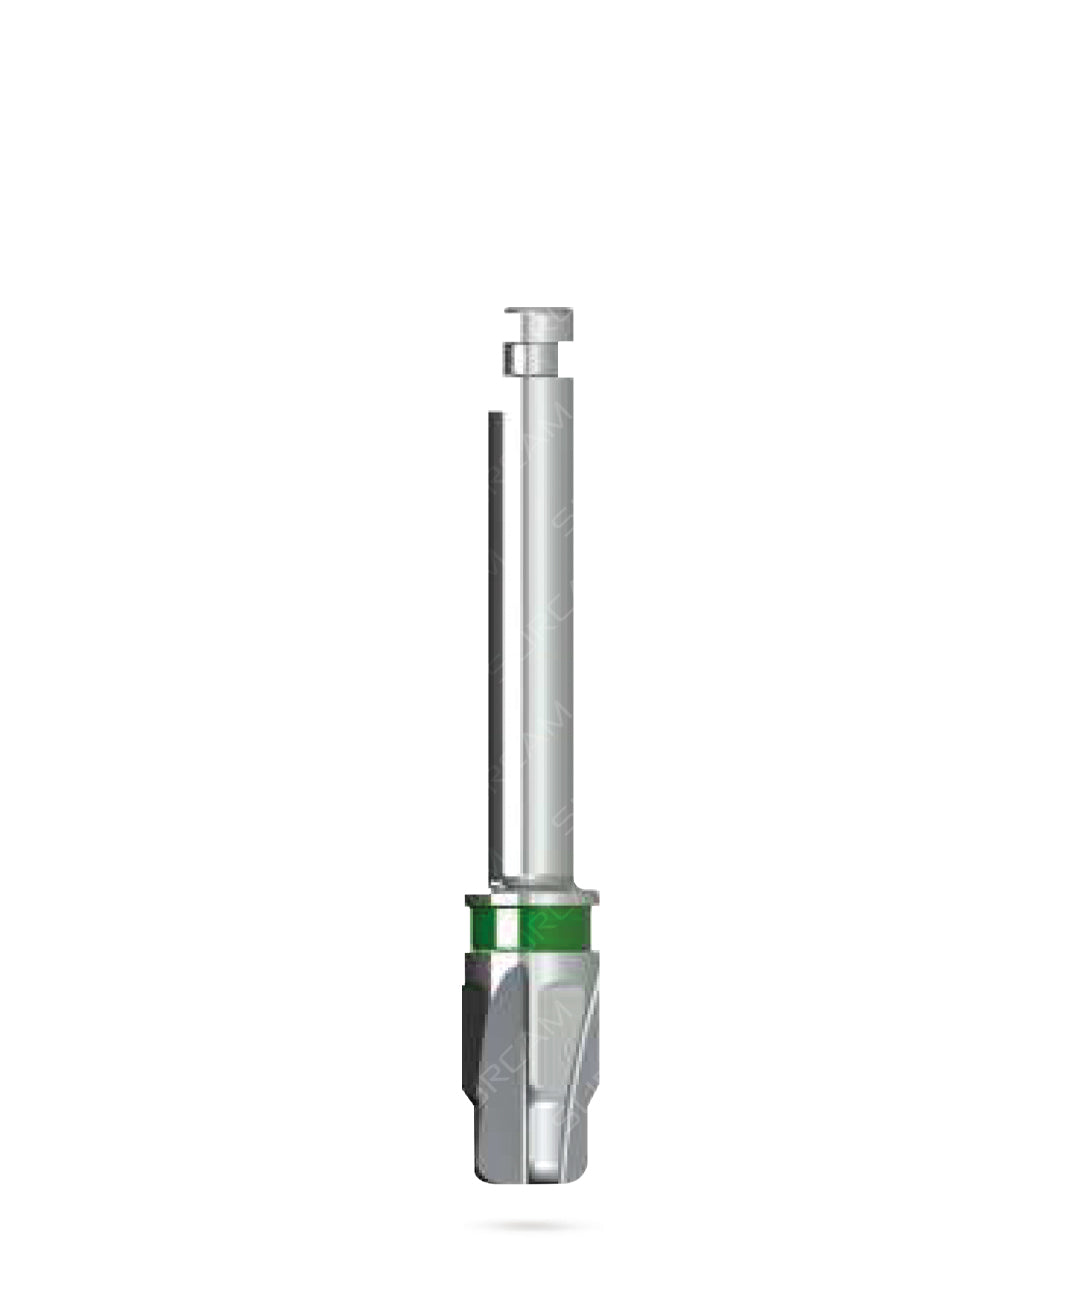
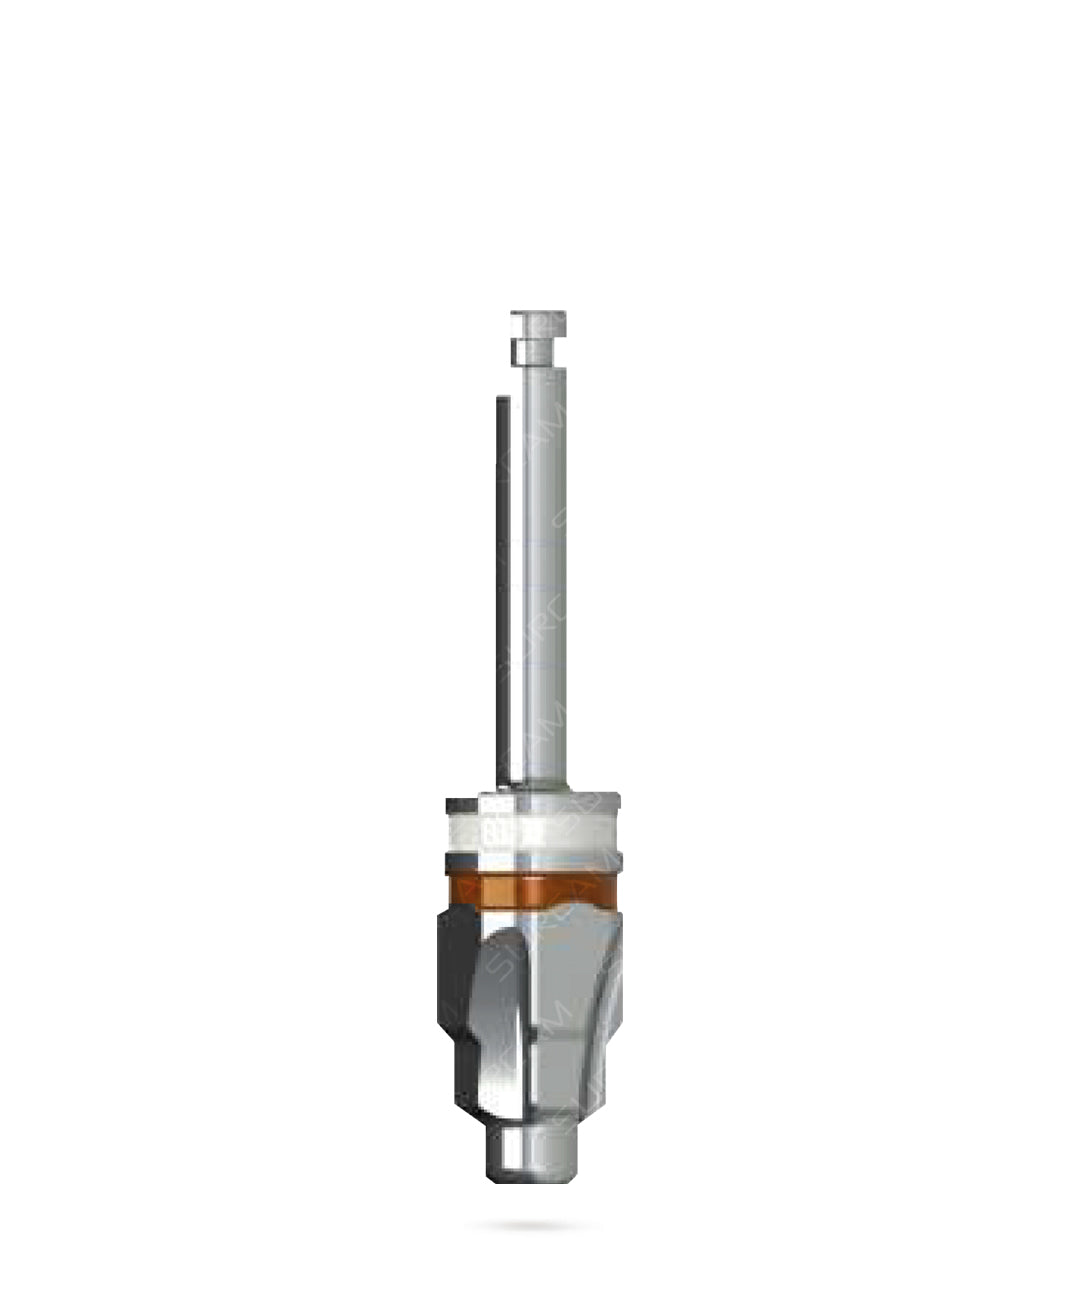
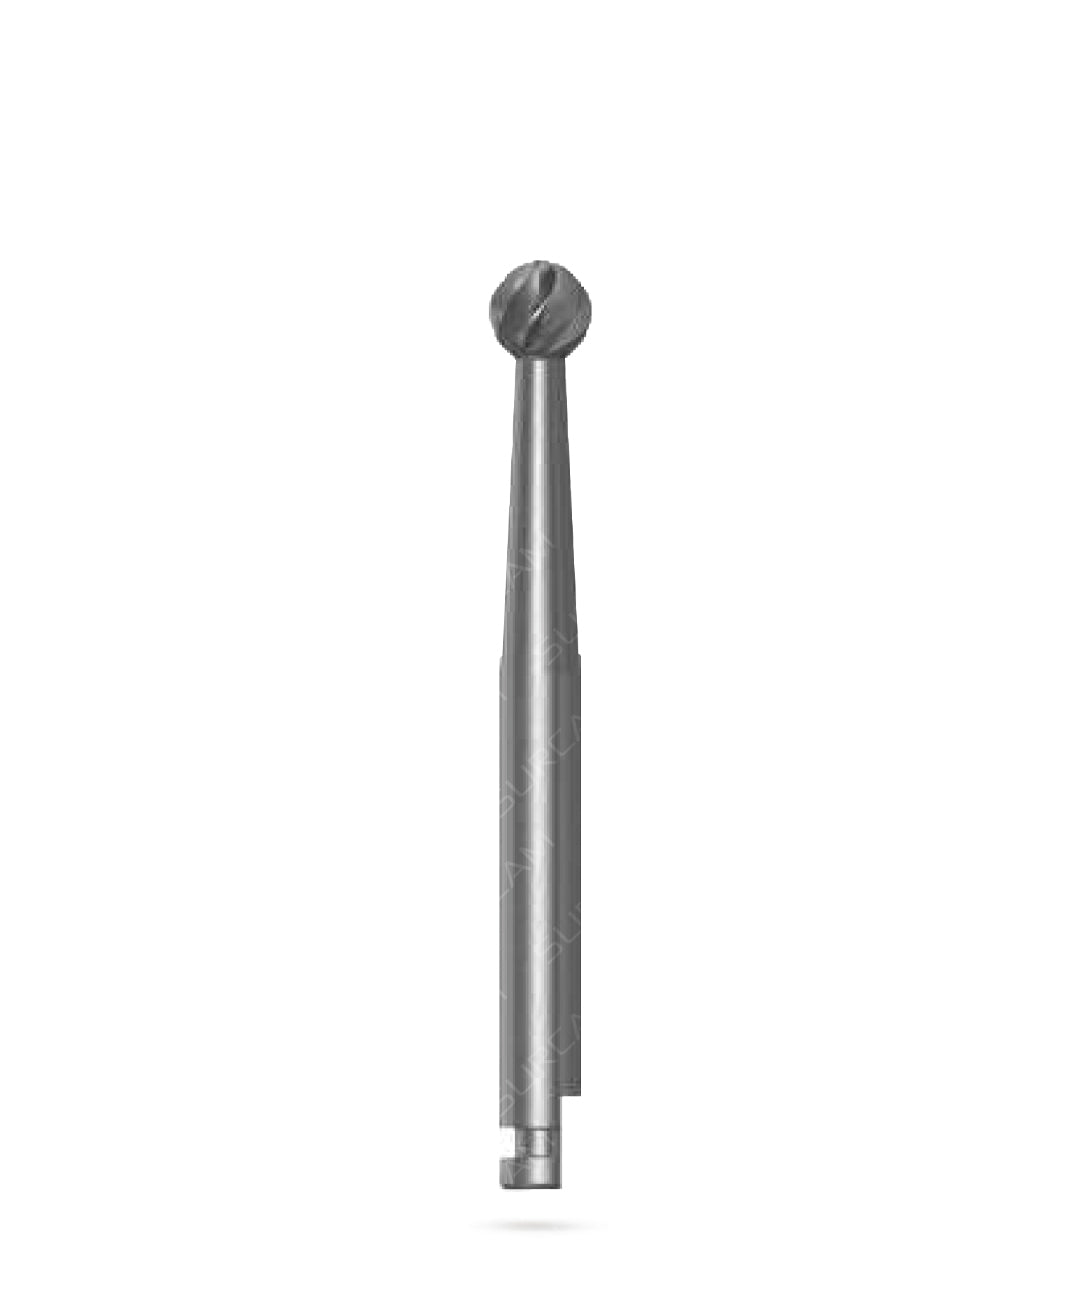
Surcam dental implant drills follow the same sequence as the Surcam surgical kit, from the first mark in the bone to the final osteotomy. Start with the Ø2.0 marking lance, set depth with a Ø2.5 pilot drill, then widen the site with twist drills from Ø2.8 to Ø5.0. Countersinks for standard and wide platforms finish the crestal bone.

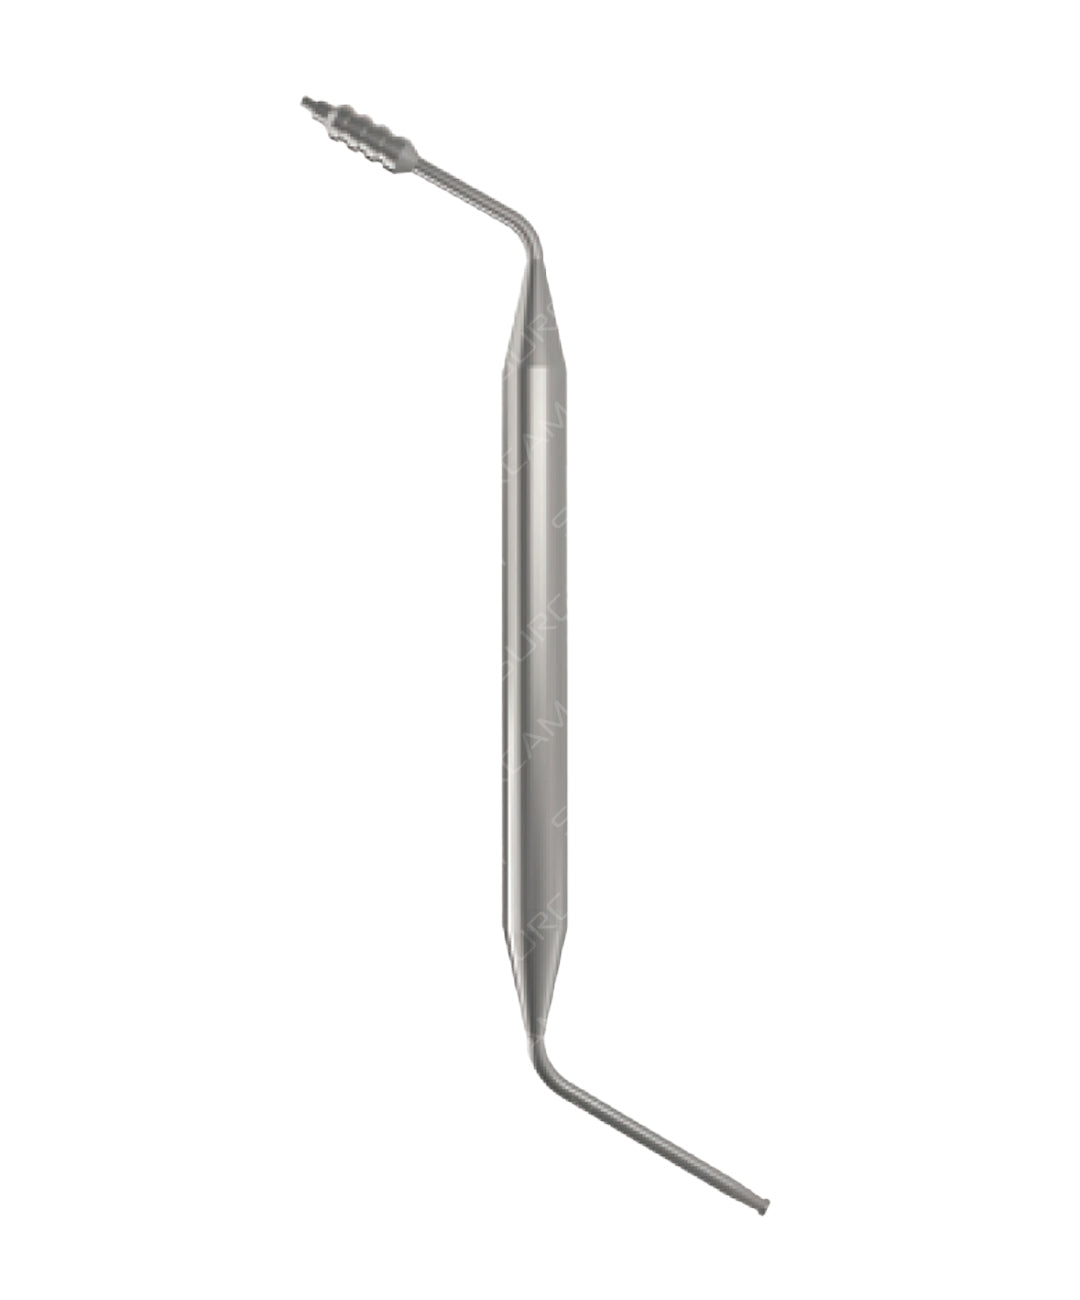
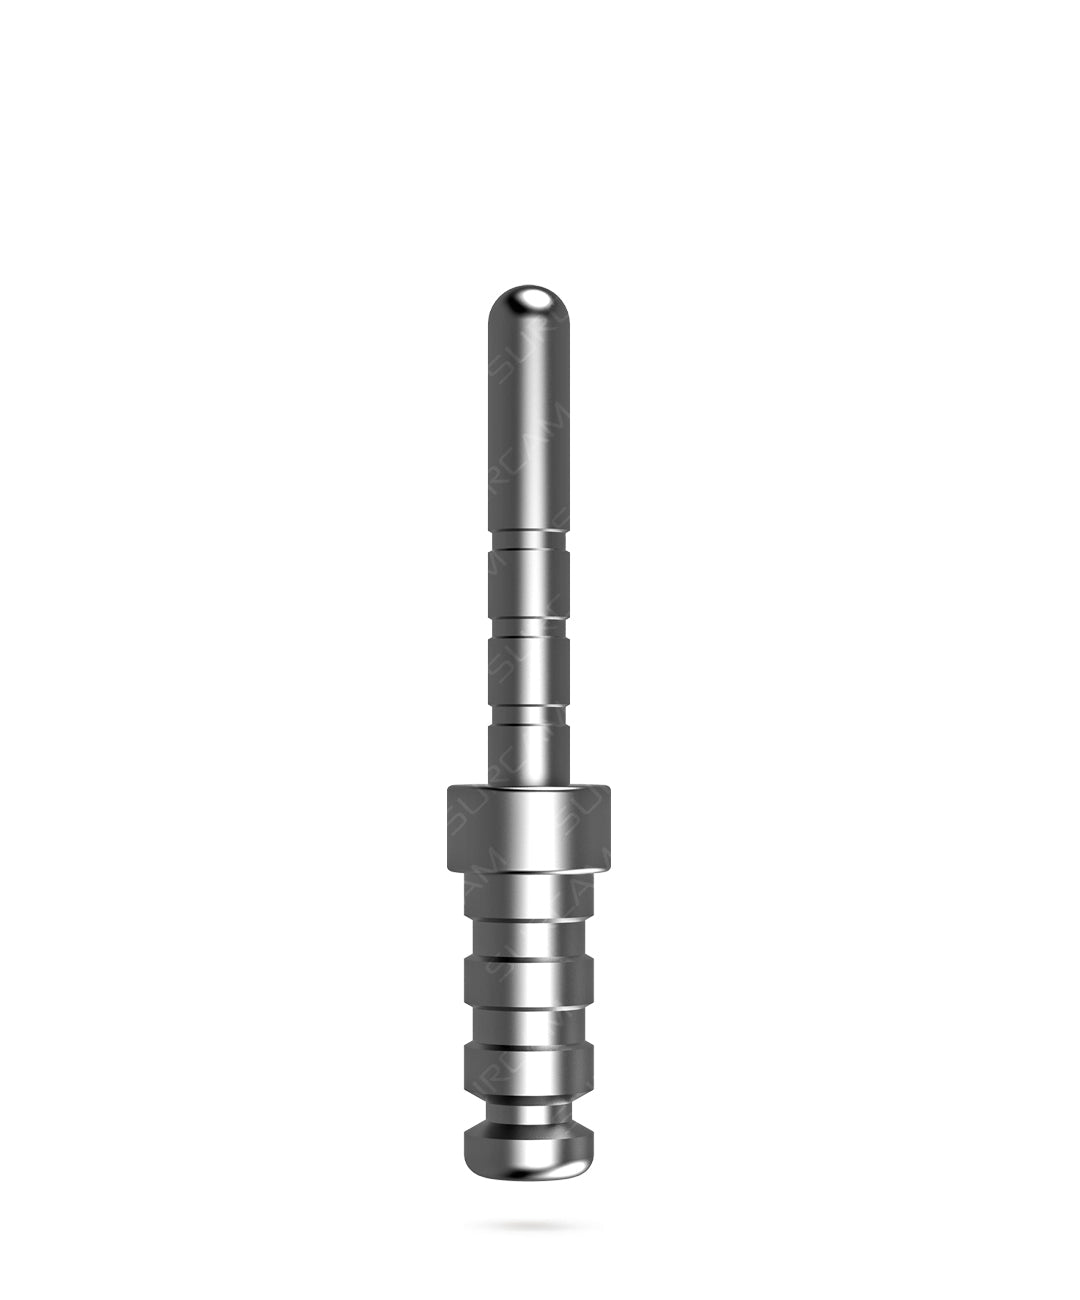
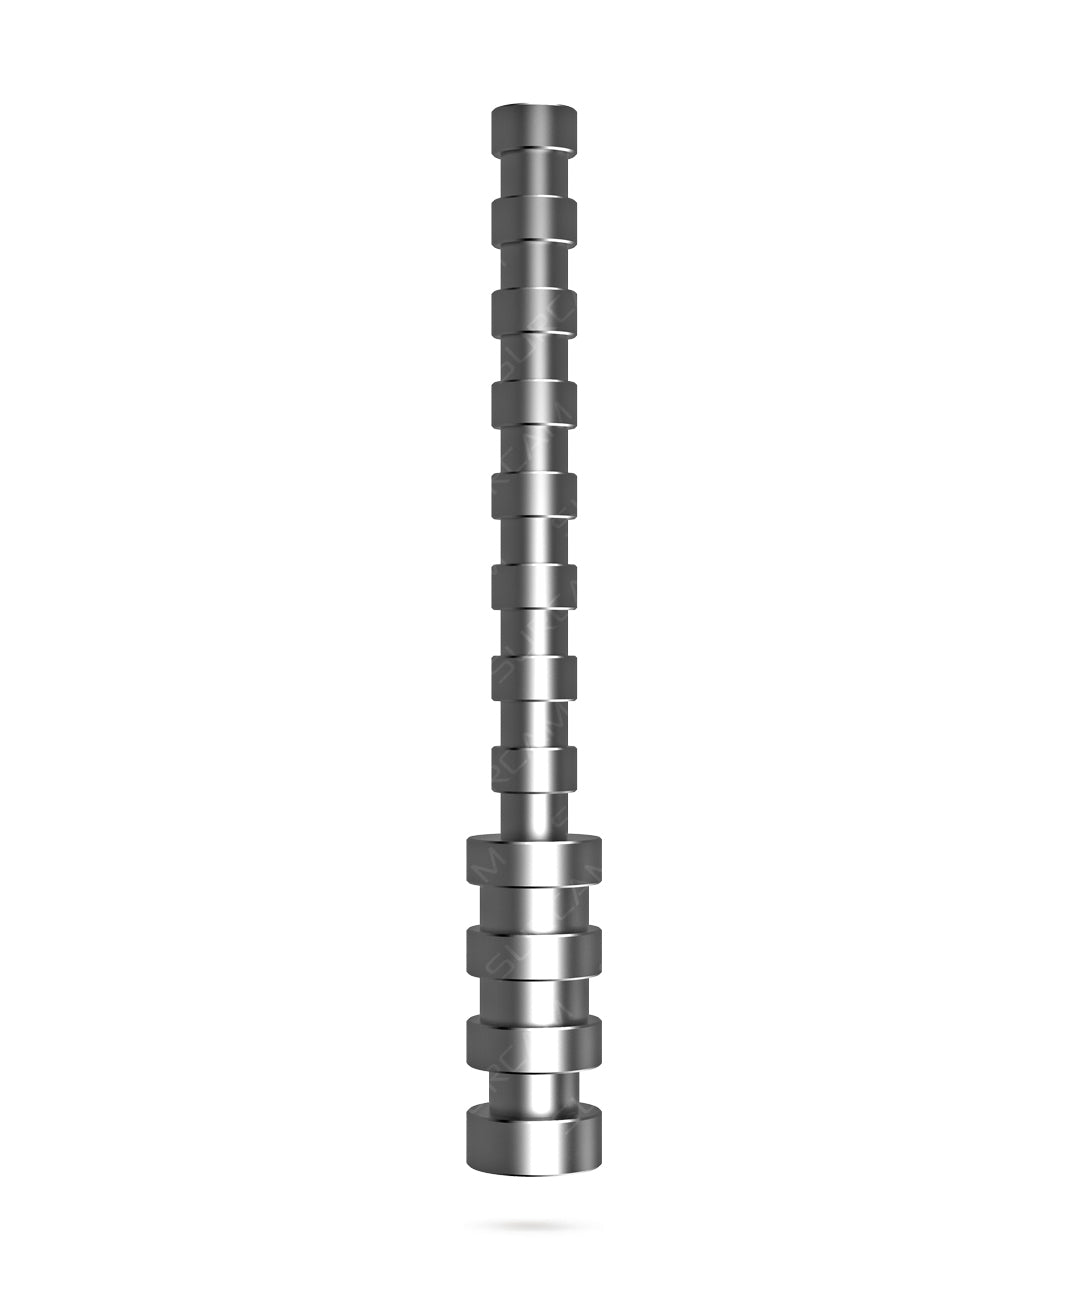
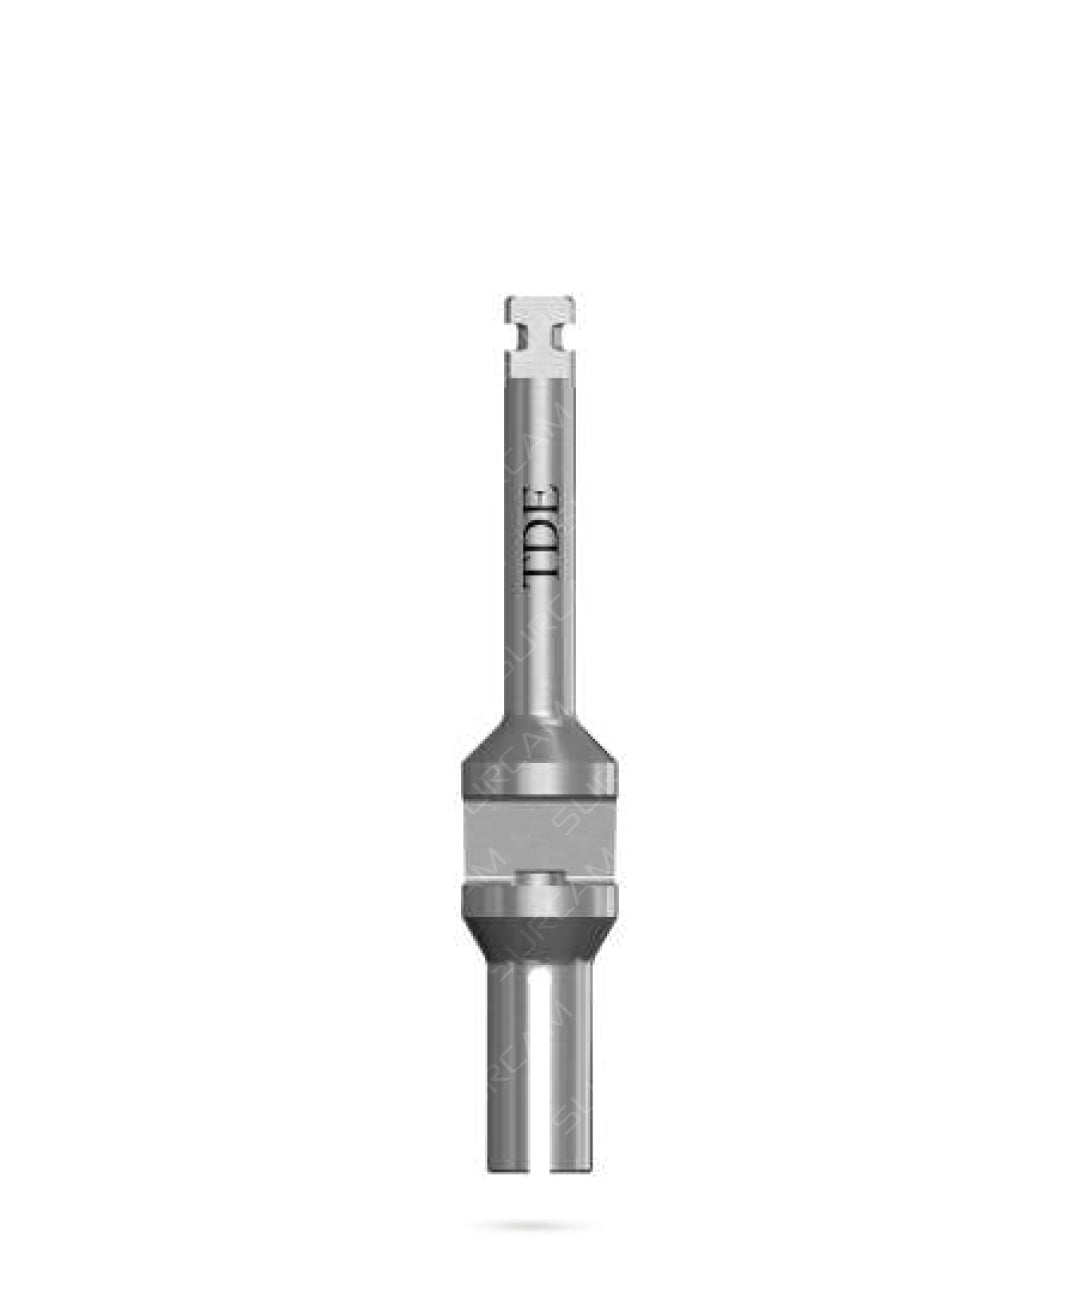
Ø2.5 pilot drills come with an integral stopper in 6, 8, 10, 11.5 and 13 mm lengths, so depth is set by the drill rather than by eye. Parallel pins, a depth probe, a drill extender and a Ø2.0 round bur complete the set. Every drill here is part of the universal surgical kit used for both the internal hex and conical connection implant lines.

The best implant drill is the one that fits a complete, published sequence for the implant you are placing. Surcam drills run from the Ø2.0 marking lance through the Ø2.5 pilot drill to twist drills up to Ø5.0, with countersinks for standard and wide platforms.

Ø2.5 pilot drills with integral stoppers cover 6 to 13 mm implant lengths. The same drills are used for the internal hex and conical connection lines, so one set serves both. Drill with external irrigation, follow the speeds in the Surcam protocol, and keep insertion torque at or below 50 Ncm. Surgical tools are supplied non-sterile.

How to choose implant drills

Follow the sequence, not a single drill

An osteotomy is built in steps. Each twist drill widens the site by a small amount, which keeps heat and cutting load low. Skipping steps raises both.

Control depth

Integral stopper drills set the depth for a given implant length. For other steps, check the depth with the depth probe before you go further. The drill extender adds reach where adjacent teeth are in the way.

Check angulation

Place parallel pins in the pilot holes to check the angle between sites before widening them, especially for multiple implants.

Match the drill to the bone

Use a narrower final drill in soft bone and a wider one in dense bone, and keep insertion torque at or below 50 Ncm. Drill with external irrigation throughout.

Frequently Asked Questions

Implant drill FAQ

What makes a good implant drill?

A good implant drill cuts cleanly at low speed, has clear depth control, and belongs to a sequence matched to the implant you are placing. Surcam drills step up in small diameter increments, the Ø2.5 pilot drills have integral stoppers for each implant length, and the full sequence is published for every Surcam implant diameter.

What is the drilling sequence for a Surcam implant?

Mark the site with the Ø2.0 lance, drill to depth with the Ø2.5 pilot drill, then widen with twist drills up to the final diameter for the implant and bone type. Use the countersink where the platform needs it. The full sequence for each implant line and diameter is in the Surcam catalog and IFU.

What drilling speed should I use?

Speed drops as the diameter rises. The Surcam protocols use 1,200 to 1,500 RPM for the Ø2.0 marking drill, 900 to 1,200 RPM for the Ø2.5 pilot drill and about 200 to 400 RPM for the wider twist drills, with implant insertion at 15 to 25 RPM. Use external irrigation while drilling.

How does bone density change the final drill?

In soft bone (types 3 and 4) the final drill is narrower, so the implant compresses the bone and gains primary stability. In dense bone (types 1 and 2) the final drill is wider to avoid excessive insertion torque. For example, a Ø3.75 S-Type implant finishes at Ø2.8 in soft bone and Ø3.2 in dense bone. Do not exceed 50 Ncm insertion torque.

Why use a drill with an integral stopper?

The stopper physically limits how deep the drill can go, so the osteotomy matches the planned implant length. Choose the stopper drill that matches the implant length: 6, 8, 10, 11.5 or 13 mm.

Are the drills supplied sterile?

No. Surgical tools are supplied non-sterile. Clean and sterilize them before use as described in the IFU.

Guided selection

Find the right implant components in 4 steps.

1Workflow
2Connection
3Procedure
4Components
About 30 seconds

Need Support?

Our clinical support team is here to help with product, order and case inquiries.

Contact Support →

Bulk & Distributor Pricing

Custom pricing for clinics, labs and authorised distributors. Get a quote tailored to your volume.

Request pricing →

Get the Right Implants, Right on Time

Order online with confidence — from single cases to bulk supply. Our team is here to help you select the right components and get them delivered fast.

Add Special instructions for your order
Coupon Code